
3D Mesh Reconstruction
The 3D Mesh Studio reconstructs textured 3D models from 2D images or text descriptions. It communicates directly with ComfyUI on port 8188 to run neural 3D reconstruction nodes.
The studio outputs production-ready 3D assets in industry-standard .glb and .obj formats.
Supported 3D Models
The studio integrates two modern open-source 3D reconstruction engines:
| Engine | Primary Architecture | Input Modalities | Best Use Case |
|---|---|---|---|
| TRELLIS V2 | Sparse-structure latents & multi-view flow matching | Image-to-3D & Text-to-3D | Sharp mechanical geometry, detailed props, and clean topology. |
| Hunyuan3D v2 | Two-stage diffusion & textured mesh generator | Image-to-3D & Text-to-3D | Watertight organic models, creature sculpts, and complex characters. |
NOTE
Install ComfyUI 3D custom nodes via ComfyUI-Manager. For detailed installation steps, refer to the ComfyUI & 3D Guide.
Hardware Requirements and Memory Allocation
Reconstructing 3D neural fields requires substantial GPU memory:
- Recommended VRAM: 12 GB to 16 GB dedicated GPU memory.
- Minimum VRAM: 8 GB (requires lower poly-count settings).
- Automated VRAM Offloading: The VRAM Orchestrator automatically clears Ollama language models from GPU memory before 3D reconstruction begins.
IMPORTANT
If your GPU has 8 GB of VRAM, close all other GPU applications before launching 3D workflows.
Generation Pipelines
The studio supports two distinct input pipelines:
1. Image-to-3D Pipeline
The Image-to-3D pipeline reconstructs geometry from a reference image:
- Supply an image with a single subject against a neutral background.
- The backend node automatically segments the subject and removes background noise.
- The pipeline estimates depth, multi-view consistency, and back-face geometry.
TIP
Generate your source image in the Image Studio using FLUX or SDXL. Include the phrase "isolated on white background, 3D asset" in your prompt.
2. Text-to-3D Pipeline
The Text-to-3D pipeline generates a multi-view visual concept first. It then converts that concept into an orbital 3D mesh automatically.
Step-by-Step 3D Mesh Generation
Follow these steps to reconstruct a 3D asset:
Step 1: Verify 3D Engine Status
- Open the Workflows tab in the top navigation bar.
- Click 📦 3D Mesh in the modality selector.
- Verify the ComfyUI status pill in the header. Ensure the status displays Online.
Step 2: Choose Generation Mode
Select your input mode:
- Click 📝 Text to 3D to describe an object with text prompts.
- Click 🖼️ Image to 3D to supply a source reference image.
Step 3: Configure Geometry and Export Options
- 3D Prompt: Describe the object, physical materials, and surface textures.
- Export Format: Select
GLBorOBJfrom the format selector. - Mesh Quality / Poly Count: Select your desired polygon density:
Standard: Balanced poly count optimized for real-time game engines.High Detail: Dense mesh topology optimized for offline rendering and digital sculpting.
Step 4: Generate 3D Mesh
- Click 📦 Step 4: Generate 3D Mesh / Splat.
- Monitor the 4-stage pipeline progress tracker.
- Wait for the sparse-structure and texture generation passes to finish.
- Inspect the rendered asset in the 3D viewport canvas.
360° Orbital WebGL Viewport
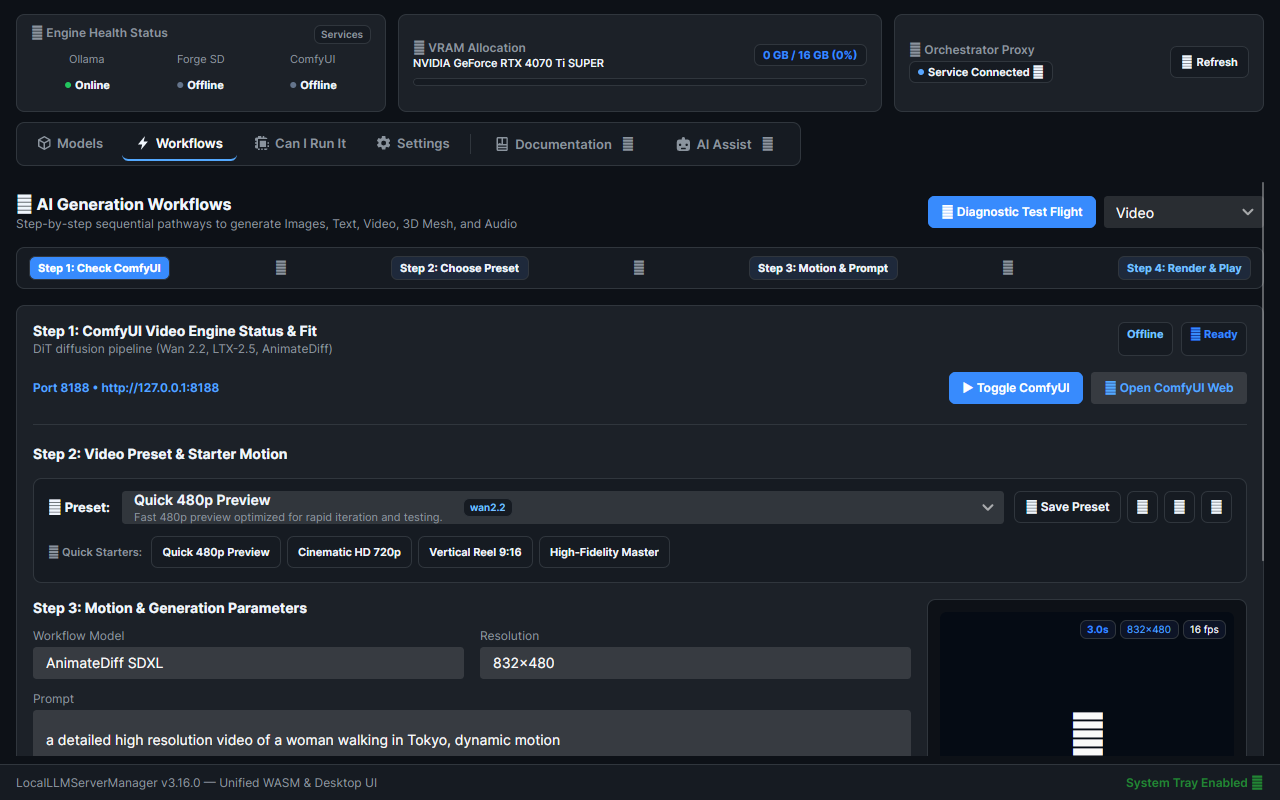
The right panel features an interactive WebGL canvas that renders generated .glb meshes in real time:
Viewport Navigation Controls
Interact with your 3D model using standard orbital camera controls:
- Rotate (Orbit): Click and drag with the left mouse button to rotate the camera around the asset.
- Pan: Click and drag with the right mouse button to shift the camera position horizontally and vertically.
- Zoom: Scroll the mouse wheel up or down to inspect fine texture details.
- Wireframe Toggle: Click the wireframe button to inspect polygon edge flow and quad density.
- Lighting Modes: Switch between studio lighting, flat ambient light, and untextured clay modes.
Exporting and Downloading 3D Files
Once reconstruction completes, click the export buttons below the 3D canvas:
- ⬇️ Export GLB:
- Downloads a binary glTF file with embedded UV textures, normal maps, and PBR materials.
- Compatible with Godot, Unreal Engine 5, Unity, and Three.js web applications.
- ⬇️ Export OBJ:
- Downloads a standard wavefront OBJ file accompanied by MTL material definitions.
- Compatible with Blender, Autodesk Maya, 3ds Max, and 3D printing slicers.
Custom ComfyUI 3D Workflows
You can export custom 3D workflows from ComfyUI and run them through Local LLM Server Manager:
- Open ComfyUI in your web browser (
http://127.0.0.1:8188). - Open the ComfyUI settings dialog and enable Enable Dev mode Options.
- Click Save (API Format) to export your workflow as a
.jsonfile. - Copy the JSON file into the
Workflows/directory in Local LLM Server Manager. - Open the studio. The new custom 3D workflow appears automatically in the preset dropdown.
Related Documentation
- Studio Overview — Architectural overview and feature pack management.
- Image Generation Guide — Create reference images for Image-to-3D pipelines.
- ComfyUI Engine Setup — Install TRELLIS and Hunyuan3D custom nodes.